
.png)
Pre-Roadworthy Inspection Checklist – Avoid Failed Inspections
- Rivercity Roadworthys
- Dec 4, 2025
- 4 min read
Getting your vehicle ready for a roadworthy inspection can feel stressful. A failed inspection means extra time, money, and hassle. The good news is that many common issues can be spotted and fixed before the official check. This guide walks you through a simple pre-roadworthy inspection checklist to help you avoid failed inspections and keep your vehicle safe on the road.

Check All Lights
Lights are one of the easiest things to check yourself but also one of the most common reasons for failure. Make sure to test:
Headlights (both low and high beams)
Brake lights
Indicators (left and right)
Reverse lights
Hazard lights
Number plate lights
Ask a friend to help or park your vehicle in front of a reflective surface to see if all lights work properly. Replace any blown bulbs immediately. Remember, faulty lights reduce your visibility and increase accident risk.
Inspect Tyres Thoroughly
Tyres must have sufficient tread depth and no visible damage. Use a tread depth gauge or the 1-cent coin test: insert a coin into the tread grooves; if you can see the top of the coin, the tread is too shallow.
Look for:
Uneven wear patterns
Cracks or bulges on sidewalls
Correct tyre pressure according to the manufacturer’s recommendation
Worn or damaged tyres are a common reason for failing roadworthy inspections and can be dangerous on wet or slippery roads.
Ensure Seatbelts Work Properly
Seatbelts must latch securely and retract smoothly. Check each seatbelt for:
Fraying or cuts in the webbing
Broken or jammed buckles
Proper locking when pulled sharply
Seatbelt faults are taken seriously during inspections because they directly affect passenger safety.
Monitor Dash Warning Lights
Before the inspection, start your vehicle and watch the dashboard for any warning lights. Common lights to watch include:
Engine check light
ABS warning
Airbag warning
Oil pressure light
If any warning lights stay on, have the vehicle diagnosed and repaired. These lights indicate potential mechanical or safety issues that will cause an automatic fail.

Check Windscreen Condition
The windscreen must be free of cracks, chips, or damage that could impair the driver’s vision. Even small chips can spread and cause failure. Inspect the windscreen for:
Cracks longer than 15cm
Chips in the driver’s line of sight
Damaged or worn wiper blades
Replace or repair any damage before the inspection. Clear visibility is essential for safe driving and inspection approval.
Test the Battery and Electrical System
A weak or faulty battery can cause electrical issues during the inspection. Check that:
Battery terminals are clean and free of corrosion
The battery holds a charge and starts the vehicle reliably
All electrical accessories (horn, radio, power windows) work properly
If your battery is old or unreliable, consider replacing it before the inspection.
Verify Vehicle Identification Number (VIN)
The VIN must be clearly visible and match the registration documents. Inspectors check this to confirm the vehicle’s identity. Common VIN locations include:
Driver’s side dashboard (visible through the windscreen)
Driver’s side door frame
Engine bay
Make sure the VIN plate is not damaged or tampered with.

Vehicle-Specific Tips
Different vehicles have unique requirements for roadworthy inspections. Here are some tips for common types:
Cars
Check windscreens and wipers are in good condition
Test brakes for responsiveness and noise
Inspect exhaust system for leaks or damage
Make sure all lights work
Factory cruise control must be operational
At least 50% of all windows and doors work (this must include the drivers side)
Seat belt damage from car seats and being jammed in fold down seats
Check tyres have at least 1.5mm of tread across the tyre tread and no side wall damage
Body panels are secure
Repair any oil leaks
Trailers
Ensure all lights and reflectors work
Check tyre condition and pressure
Verify trailer coupling and safety chains are secure and attached correctly
Tyres, wheel bearings and brakes are in good condition
VIN plates are attached after 1989
VIN / Chassis number is stamped or welded into the draw bar
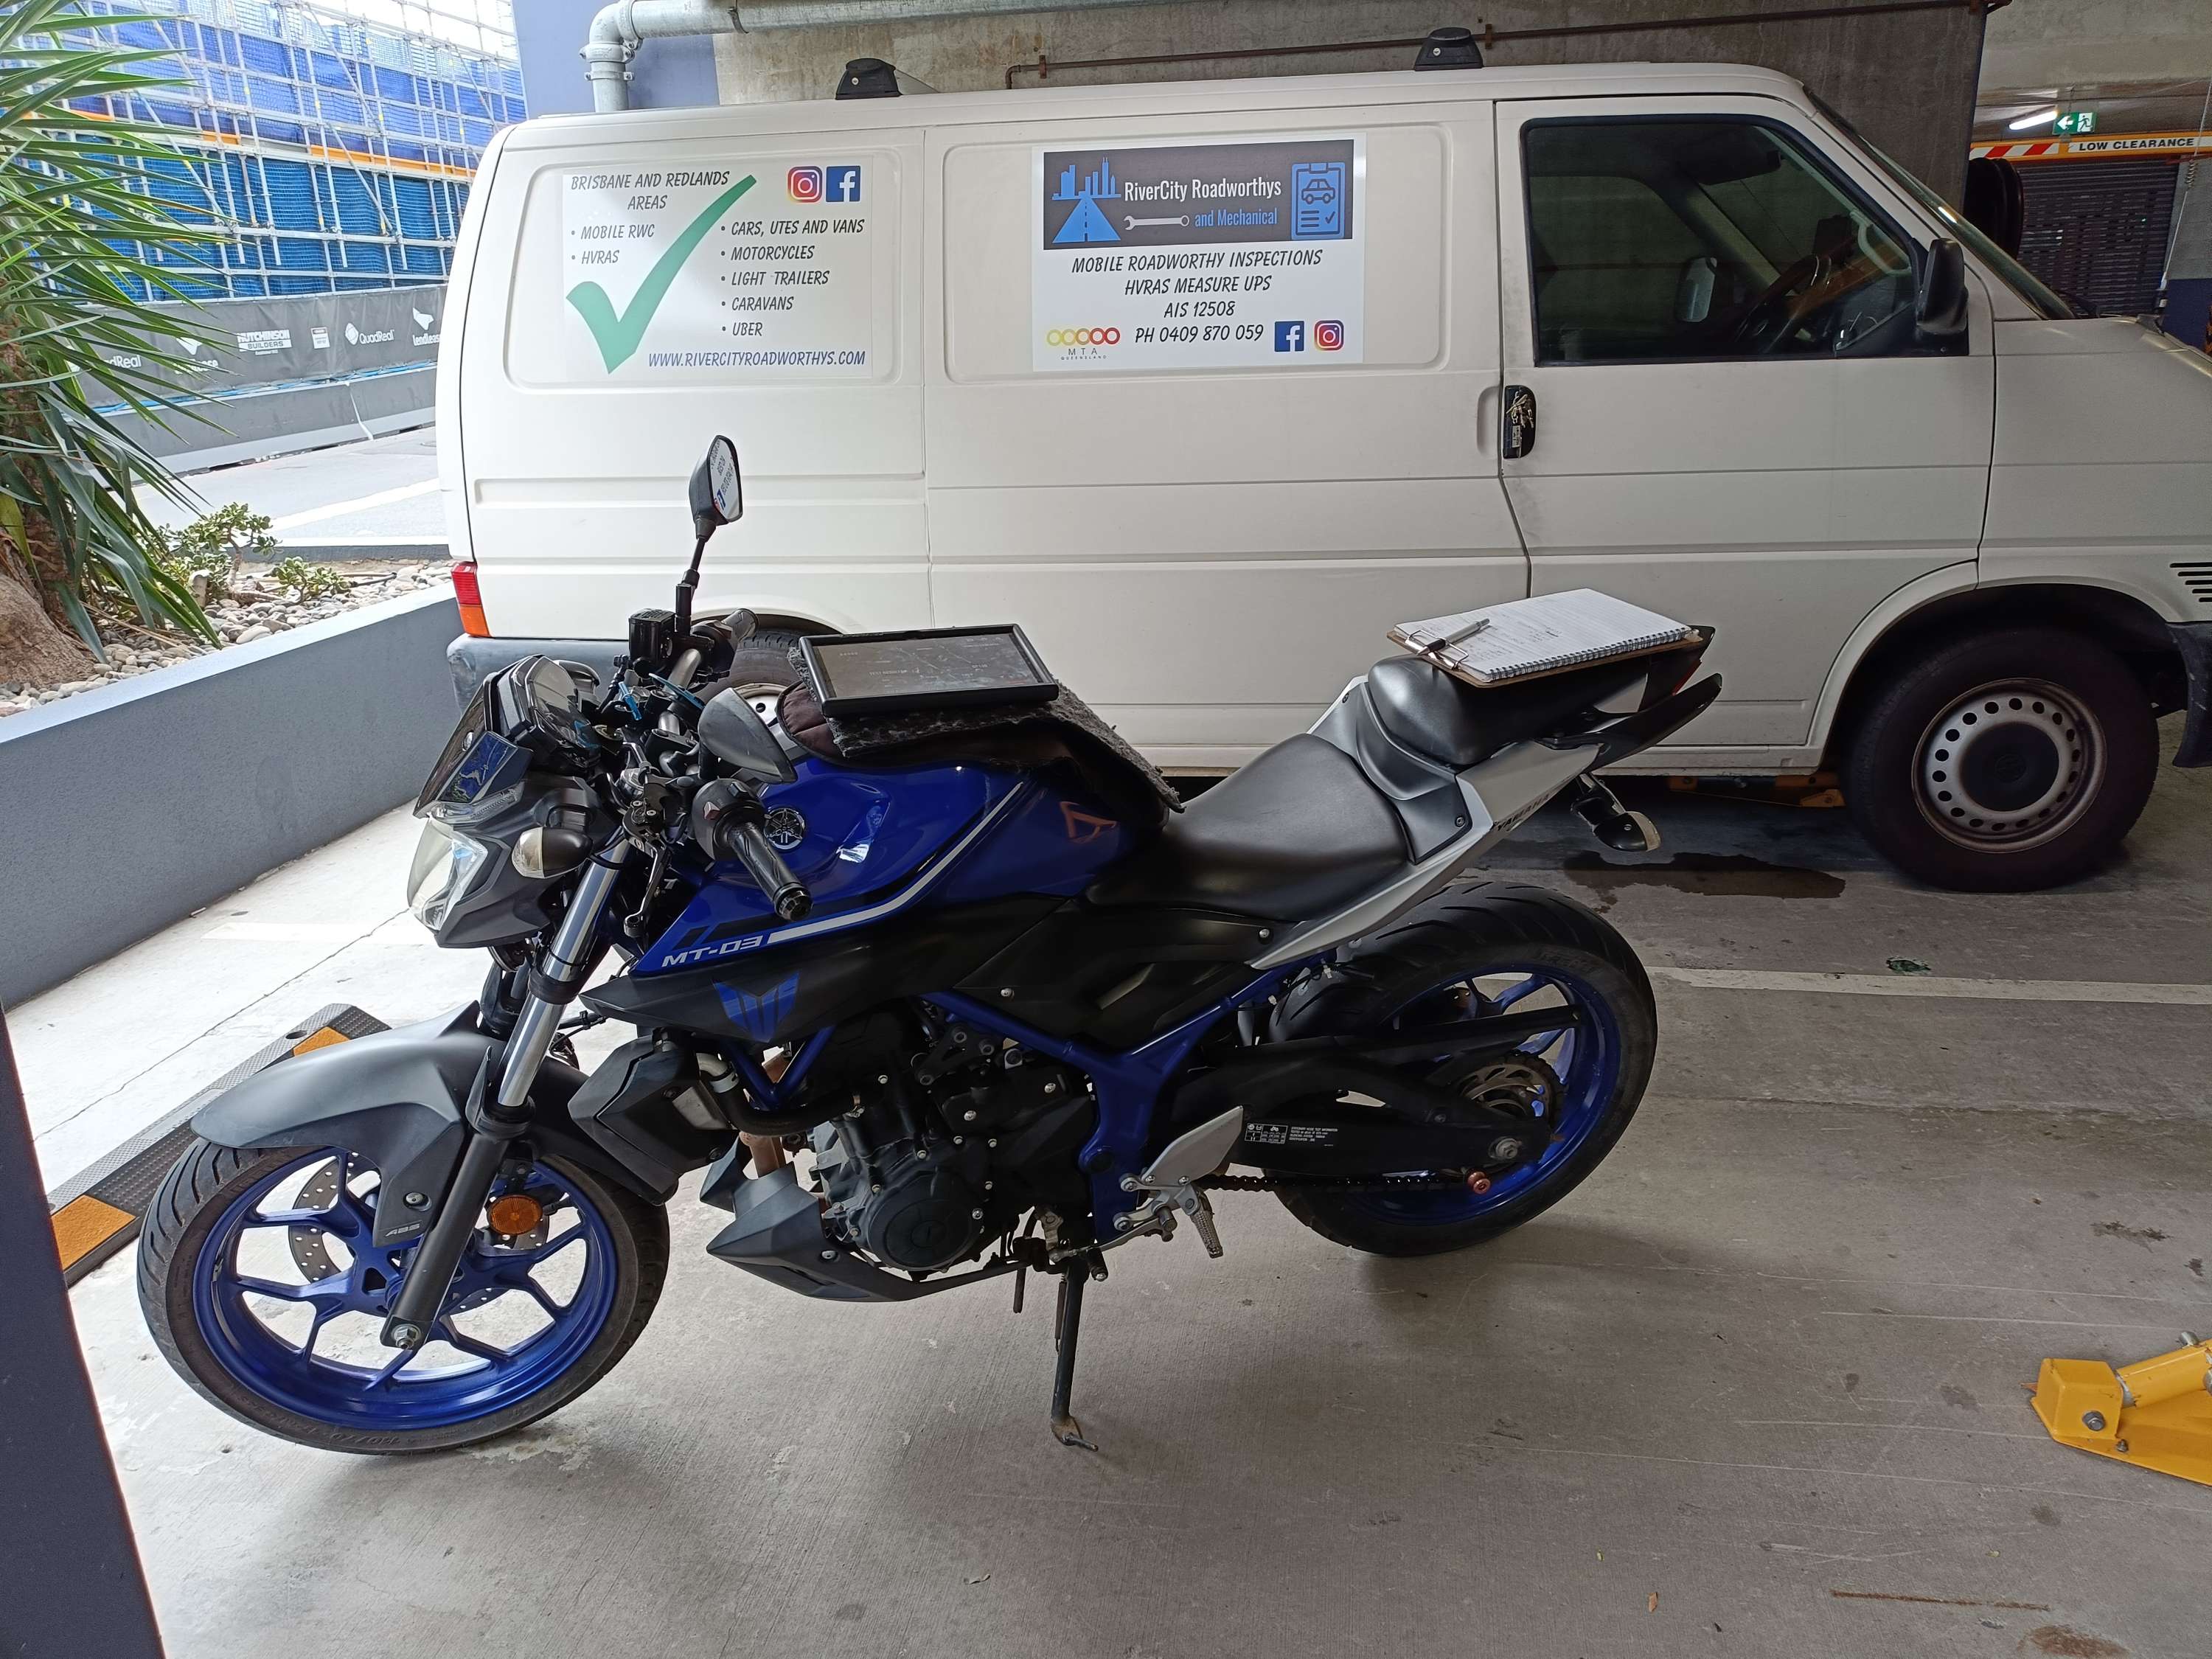
Scooters and Motorcycles
Confirm mirrors are intact and properly adjusted and the correct mirror size
Test horn and lights
Check tyre tread and brake function
Make sure fairings are not damaged, secure and free from sharp edges
Caravans
Inspect gas fittings and appliances for leaks
Check water and electrical systems
Ensure door locks and windows operate smoothly
Check safety chains and attachments
Check break away battery is in good working order
Tyres, brake and wheel bearings are in good condition
All lights and clearance lights are operational
Save Time and Money with Easy DIY Pre-Checks
Performing these simple checks yourself can save you from unexpected failures and costly repairs. It also speeds up the inspection process, so you get your roadworthy certificate faster. If you find any issues, fix them or consult a mechanic before booking your inspection.
For a detailed overview of the roadworthy certificate process, see our Complete Guide to Roadworthy Certificates in QLD.
Taking a few minutes to prepare your vehicle can make a big difference. It helps keep you safe, protects your investment, and ensures your vehicle meets legal standards.


Comments